Want to find the answer quick?
Airbyte
Airbyte is an ETL platform to connect your databases and data warehouses. Xata has contributed a Destination Connector that enables you to ingest data from various sources into your Xata workspace. Under the hood, the connector leverages the BulkProcessor of the Python SDK.
The connector operates in upsert mode, if a record does not have a property id, then the record is created otherwise the record is overwritten.
Getting Started
You need to have an Airbyte instance running either self-hosted, or Airbyte Cloud*.
-
API Key: go to your account settings to generate a new key. -
Database endpoint: navigate to the settings tab in your database and copy the "Database endpoint" from there, then add your branch to create a URL in the format: https://{workspace}-{id}.{region}.xata.sh/db/{database}:{branchName}. -
Please note that not all destinations are available in the free tier of Airybte Cloud.
Next you need to create the table in Xata with the corresponding schema. Please note that databases, tables and schemas in Xata are not created by the connector, you need to take care of that before ingesting data. One important convention is used, as highlighted here, that the name of a table and the dataset name in Airbyte must be same.
The following example will guide you through the steps necessary.
Example: CSV to Xata
In this example we walk through the steps to ingest a publicly accesible CSV file into Xata. Our source is a small CSV with 50 rows of in fictive companies. Any resemblance to real persons or other real-life entities is purely coincidental.
1 2 3 4 5 6id,name,address,catch_phrase,ceo,phone,email,exchange T,"Turner, Holland and Watson","6706 Hernandez TurnpikeSouth Amanda, MN 43370",Right-sized dynamic challenge,Mitchell Mason,"420-404-6310x03046",johnrandall@schmidt-hoover.biz,"SSX" W,Walters-Carter,"23267 Tran Oval Apt. 715Jonesborough, IA 68841",Versatile exuding info-mediaries,Stacie Peters,"098-335-9424",qrogers@compton.biz,"FTSE" L,Leach PLC,"0383 Eddie CurveEast Kaylastad, VA 78163",Ergonomic clear-thinking definition,Kevin Nicholson,"(754)057-0413x0791",webernicholas@miller-miller.org,"DOW-JONES" C,Castro and Sons,"0468 Rebecca OvalNew Susanmouth, AR 75039",Reduced bandwidth-monitored policy,Melanie Kaiser,"737-982-8170x742",matthew47@miller-mendez.com,"NASDAQ" SANCH,Sanchez Inc,"0481 William Throughway Suite 264Anthonystad, AL 78171",Right-sized maximized policy,Jonathon Anthony,"001-791-402-8673x6027",hjones@charles.com,"DAX"
Setup Xata for the incoming data
As mentioned before, we must setup our tables for the incoming data. We assume that we have a workspace and database created. Next we must create the table to hold the data. We are using the following schema, which matches the shape of the CSV.
1 2 3 4 5 6 7 8 9 10 11 12 13 14 15 16 17 18 19 20 21 22 23 24 25 26 27 28 29 30 31 32 33 34 35 36 37 38 39 40 41{ "tables": [ { "name": "Companies", "columns": [ { "name": "id", "type": "string" }, { "name": "name", "type": "string" }, { "name": "address", "type": "string" }, { "name": "catch_phrase", "type": "string" }, { "name": "ceo", "type": "string" }, { "name": "phone", "type": "string" }, { "name": "email", "type": "string" }, { "name": "exchange", "type": "string" } ] } ] }
For simplicity, the schema is publicly available and you can use our CLI to create the table Companies with the schema.
curl -XGET https://raw.githubusercontent.com/xataio/xata-py/main/examples/datasets/airbyte/schema.json > schema.json
xata schema upload schema.json
Navigate to your workspace to verify the applied table schema. You are ready to go to ingest data!
Setup Airbyte connection
The next steps will walk you through how to define CSV as a source and Xata as a destination in Airbyte.
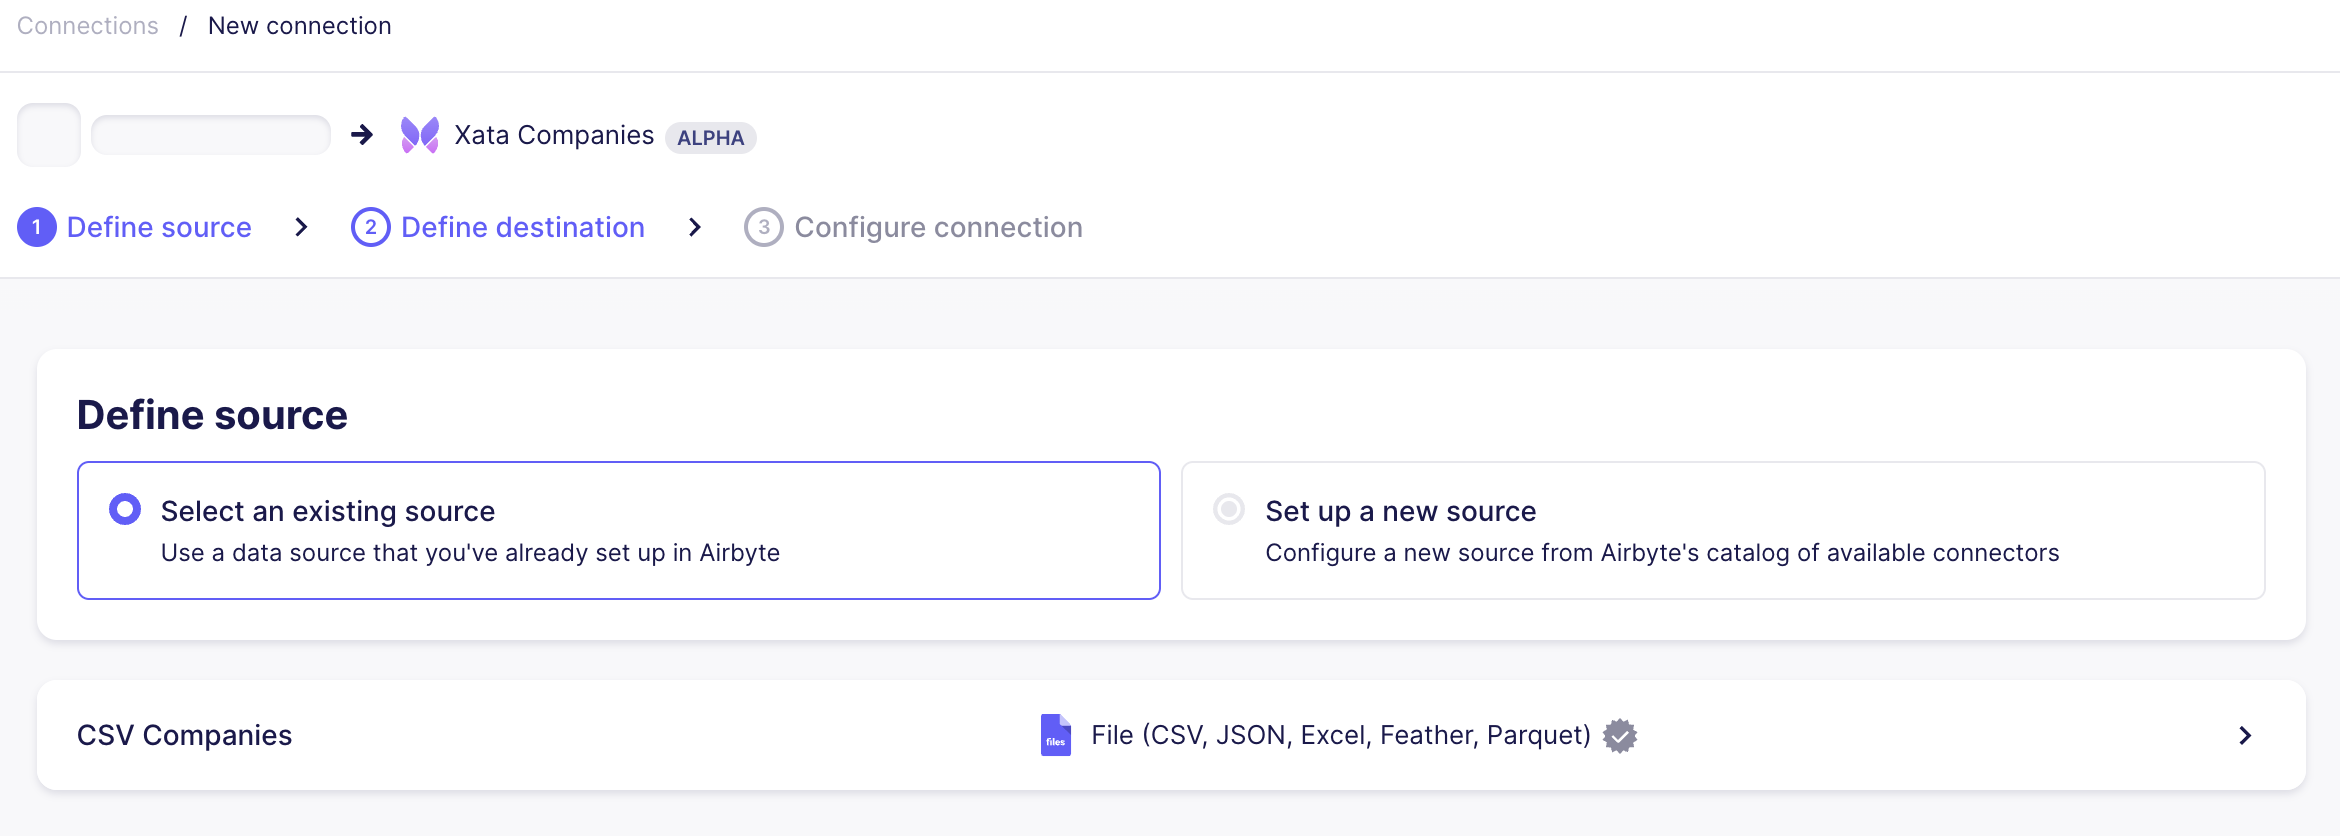
1. Create a new connection
Start by creating a new connection, which is the relationship between a source and destination.
2. Select a source
Set up a new source of type CSV.
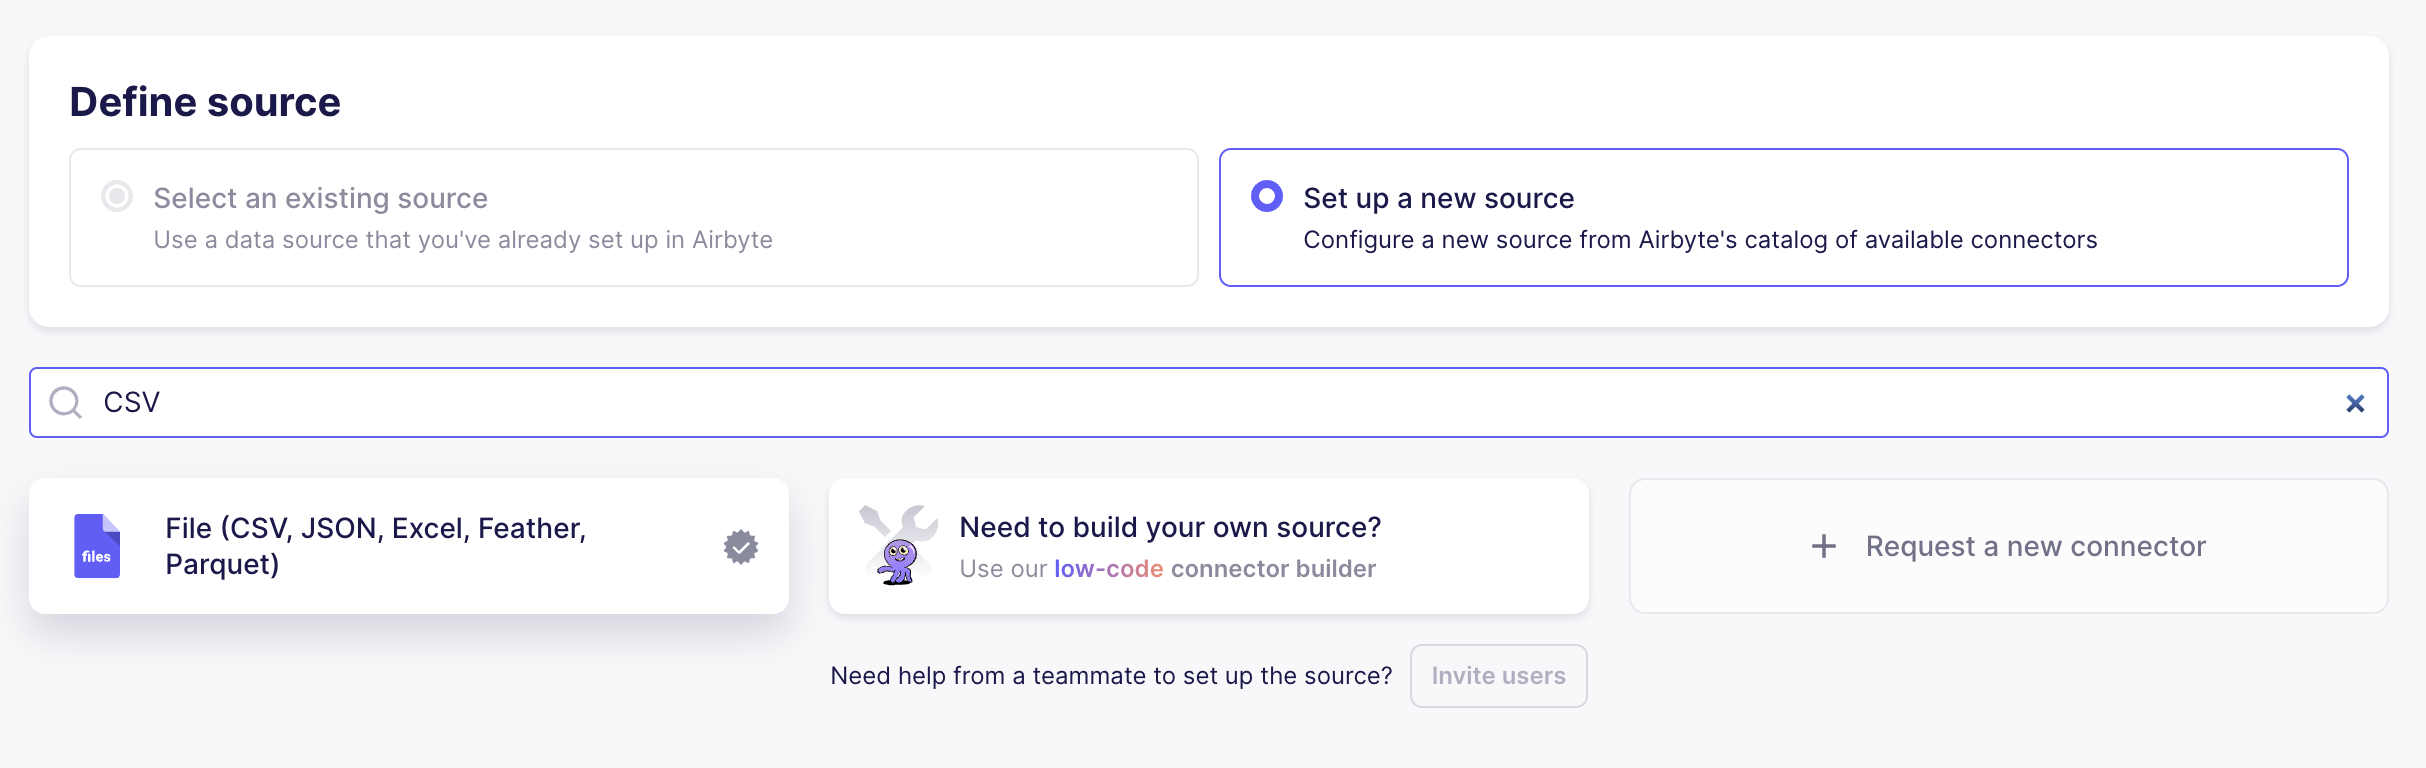
The illustration and the next steps assume you don't have the source created yet. If you already have a CSV source created, please skip to step 4.
3. Configure the source
When you configure the source you must apply the convention, that the dataset name must have the same name as the destination table in Xata. Our case, we have the table called Companies, therefore we must name the dataset Companies as well. Here is a configuration setting for the example:
- Dataset Name:
Companies - File Format:
csv - URL:
https://raw.githubusercontent.com/xataio/xata-py/main/examples/datasets/airbyte/companies.csv
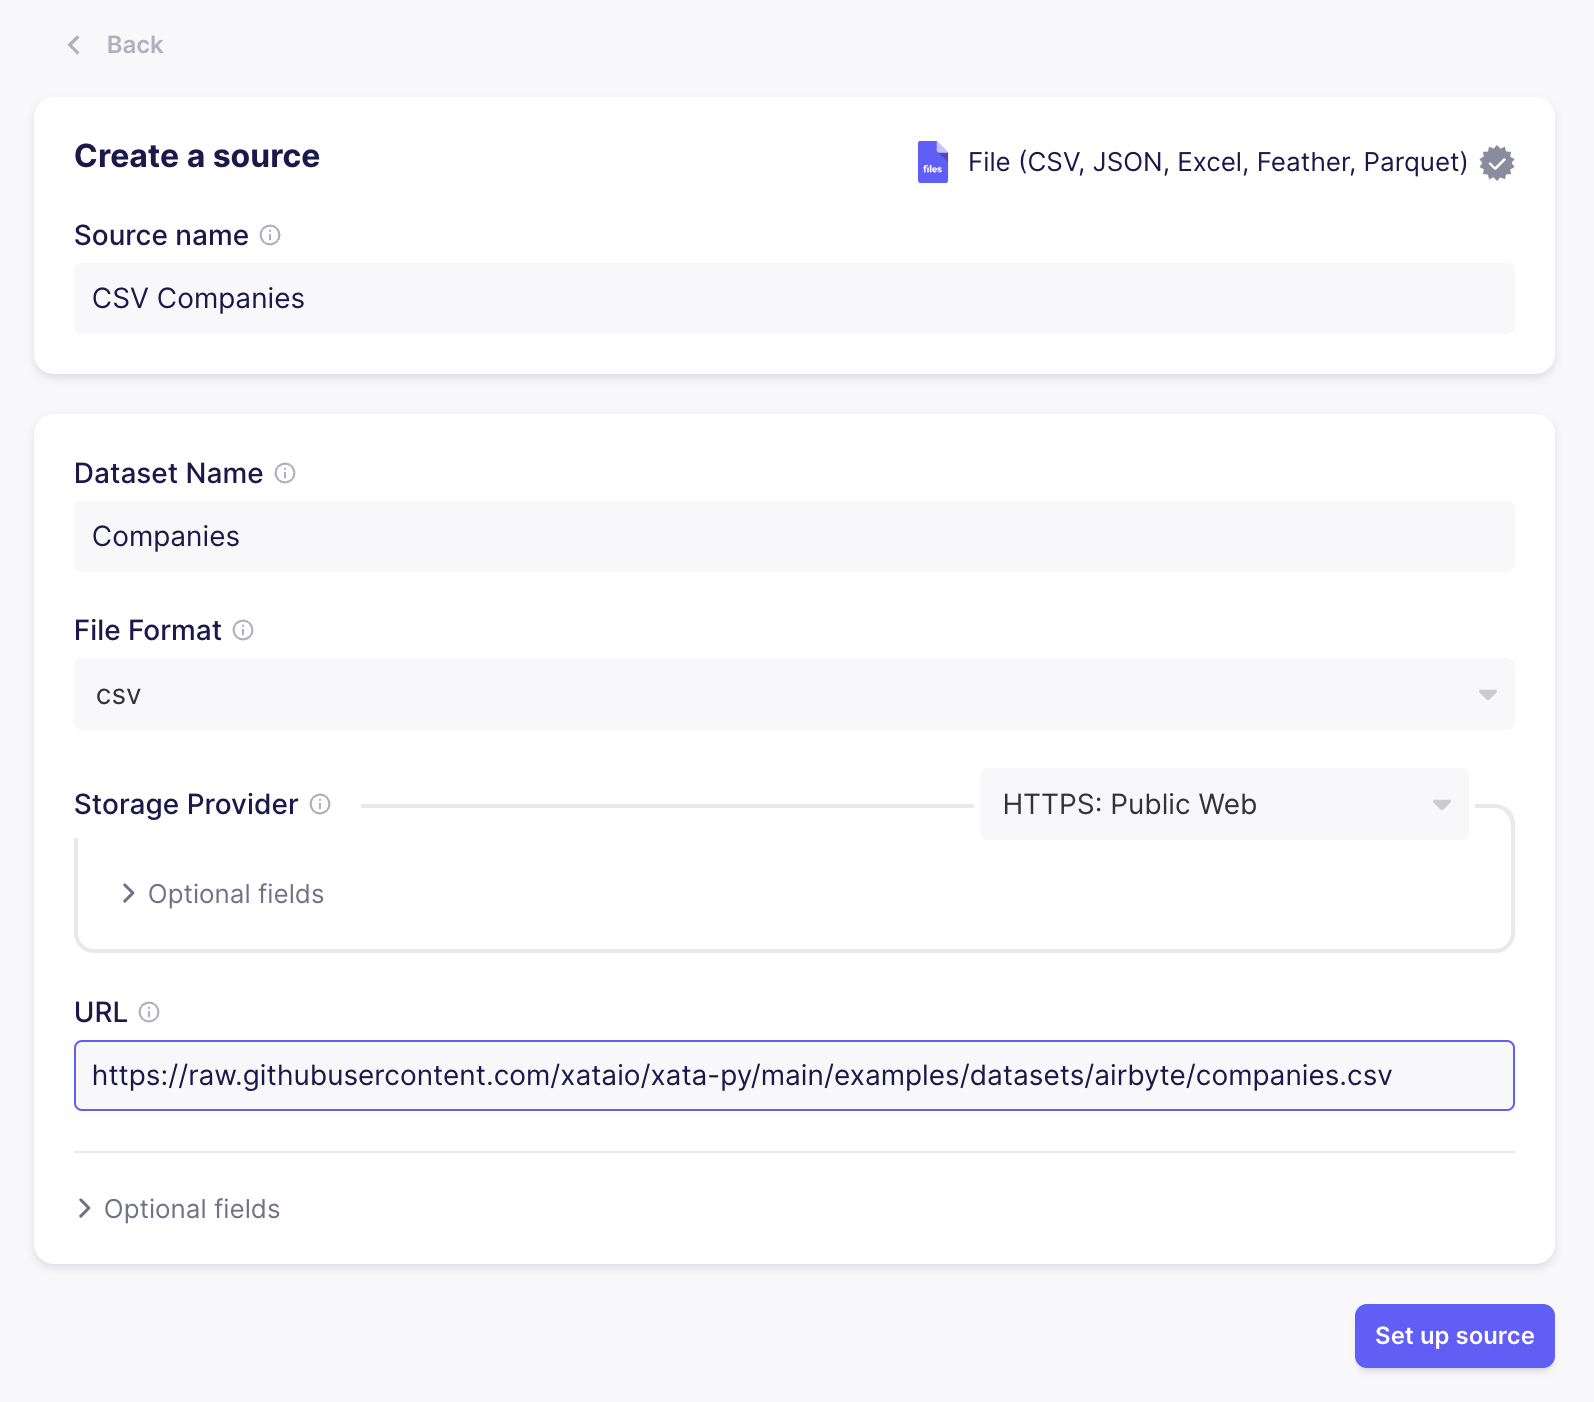
After you clicked Set up source, Airbyte will test if the source configuration is valid. You're all set with the source.
4. Select a destination
Next you will need to set up Xata as destination. In case the connector does not show up in the destination connectors list, please be aware that connector availbility is different in the free tier of Airbyte Cloud.

5. Configure the destination
As explained in the getting started section, you'll need the API Key and Database URL to point to your database.
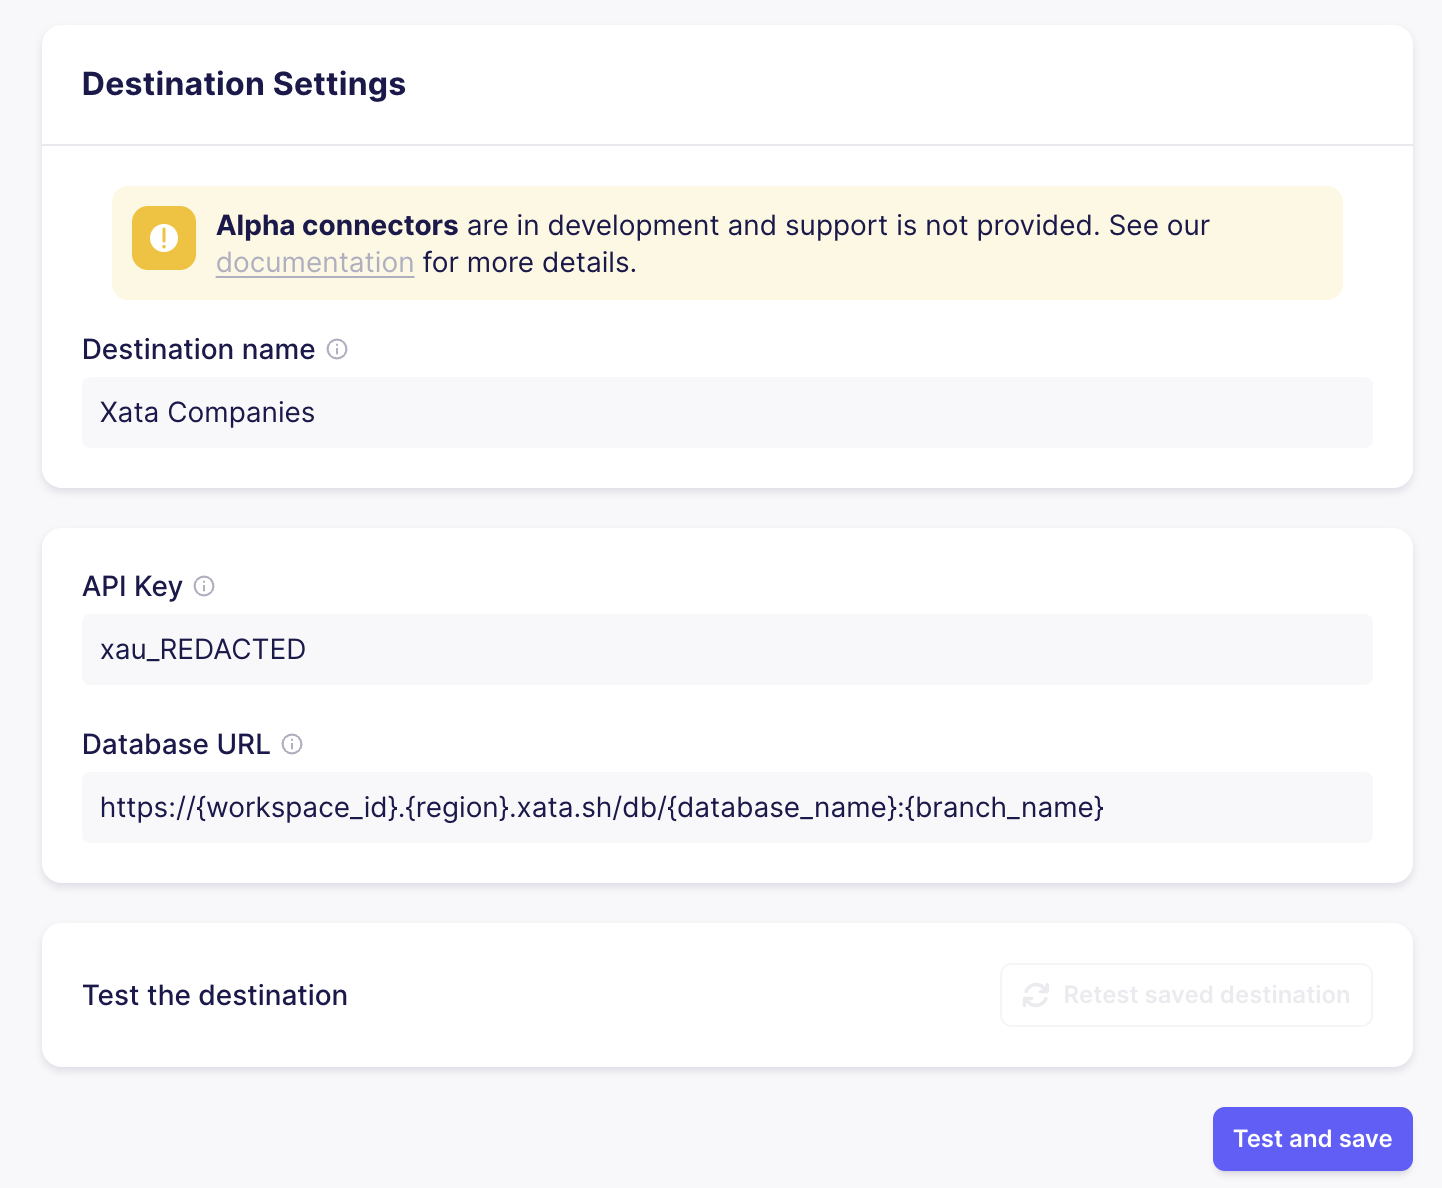
Equivalently as the source, Airbyte will test if the destination configuration is correct.
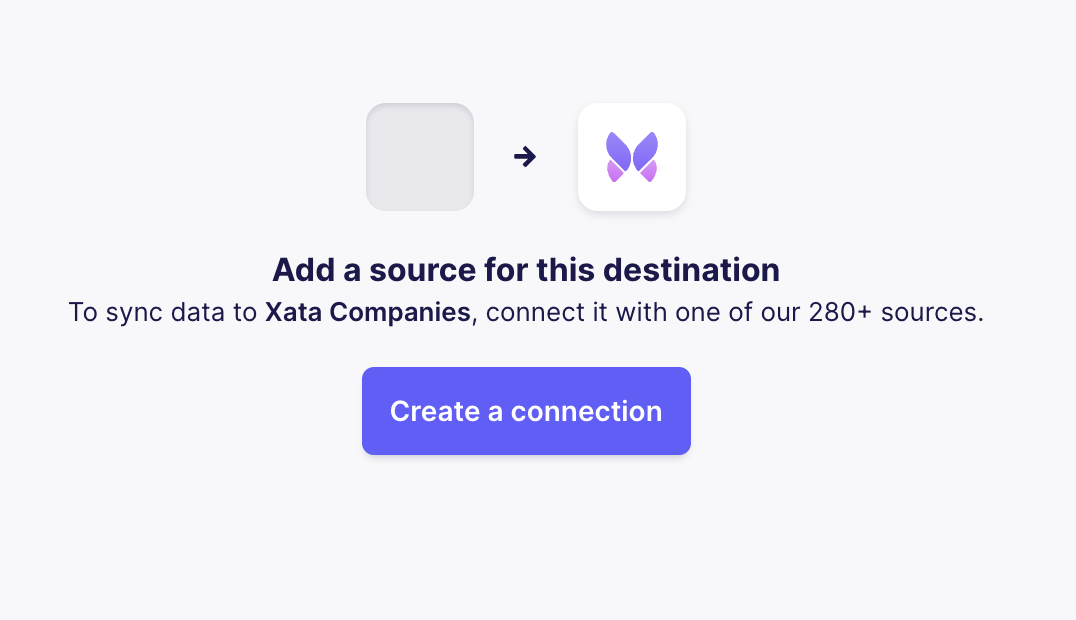
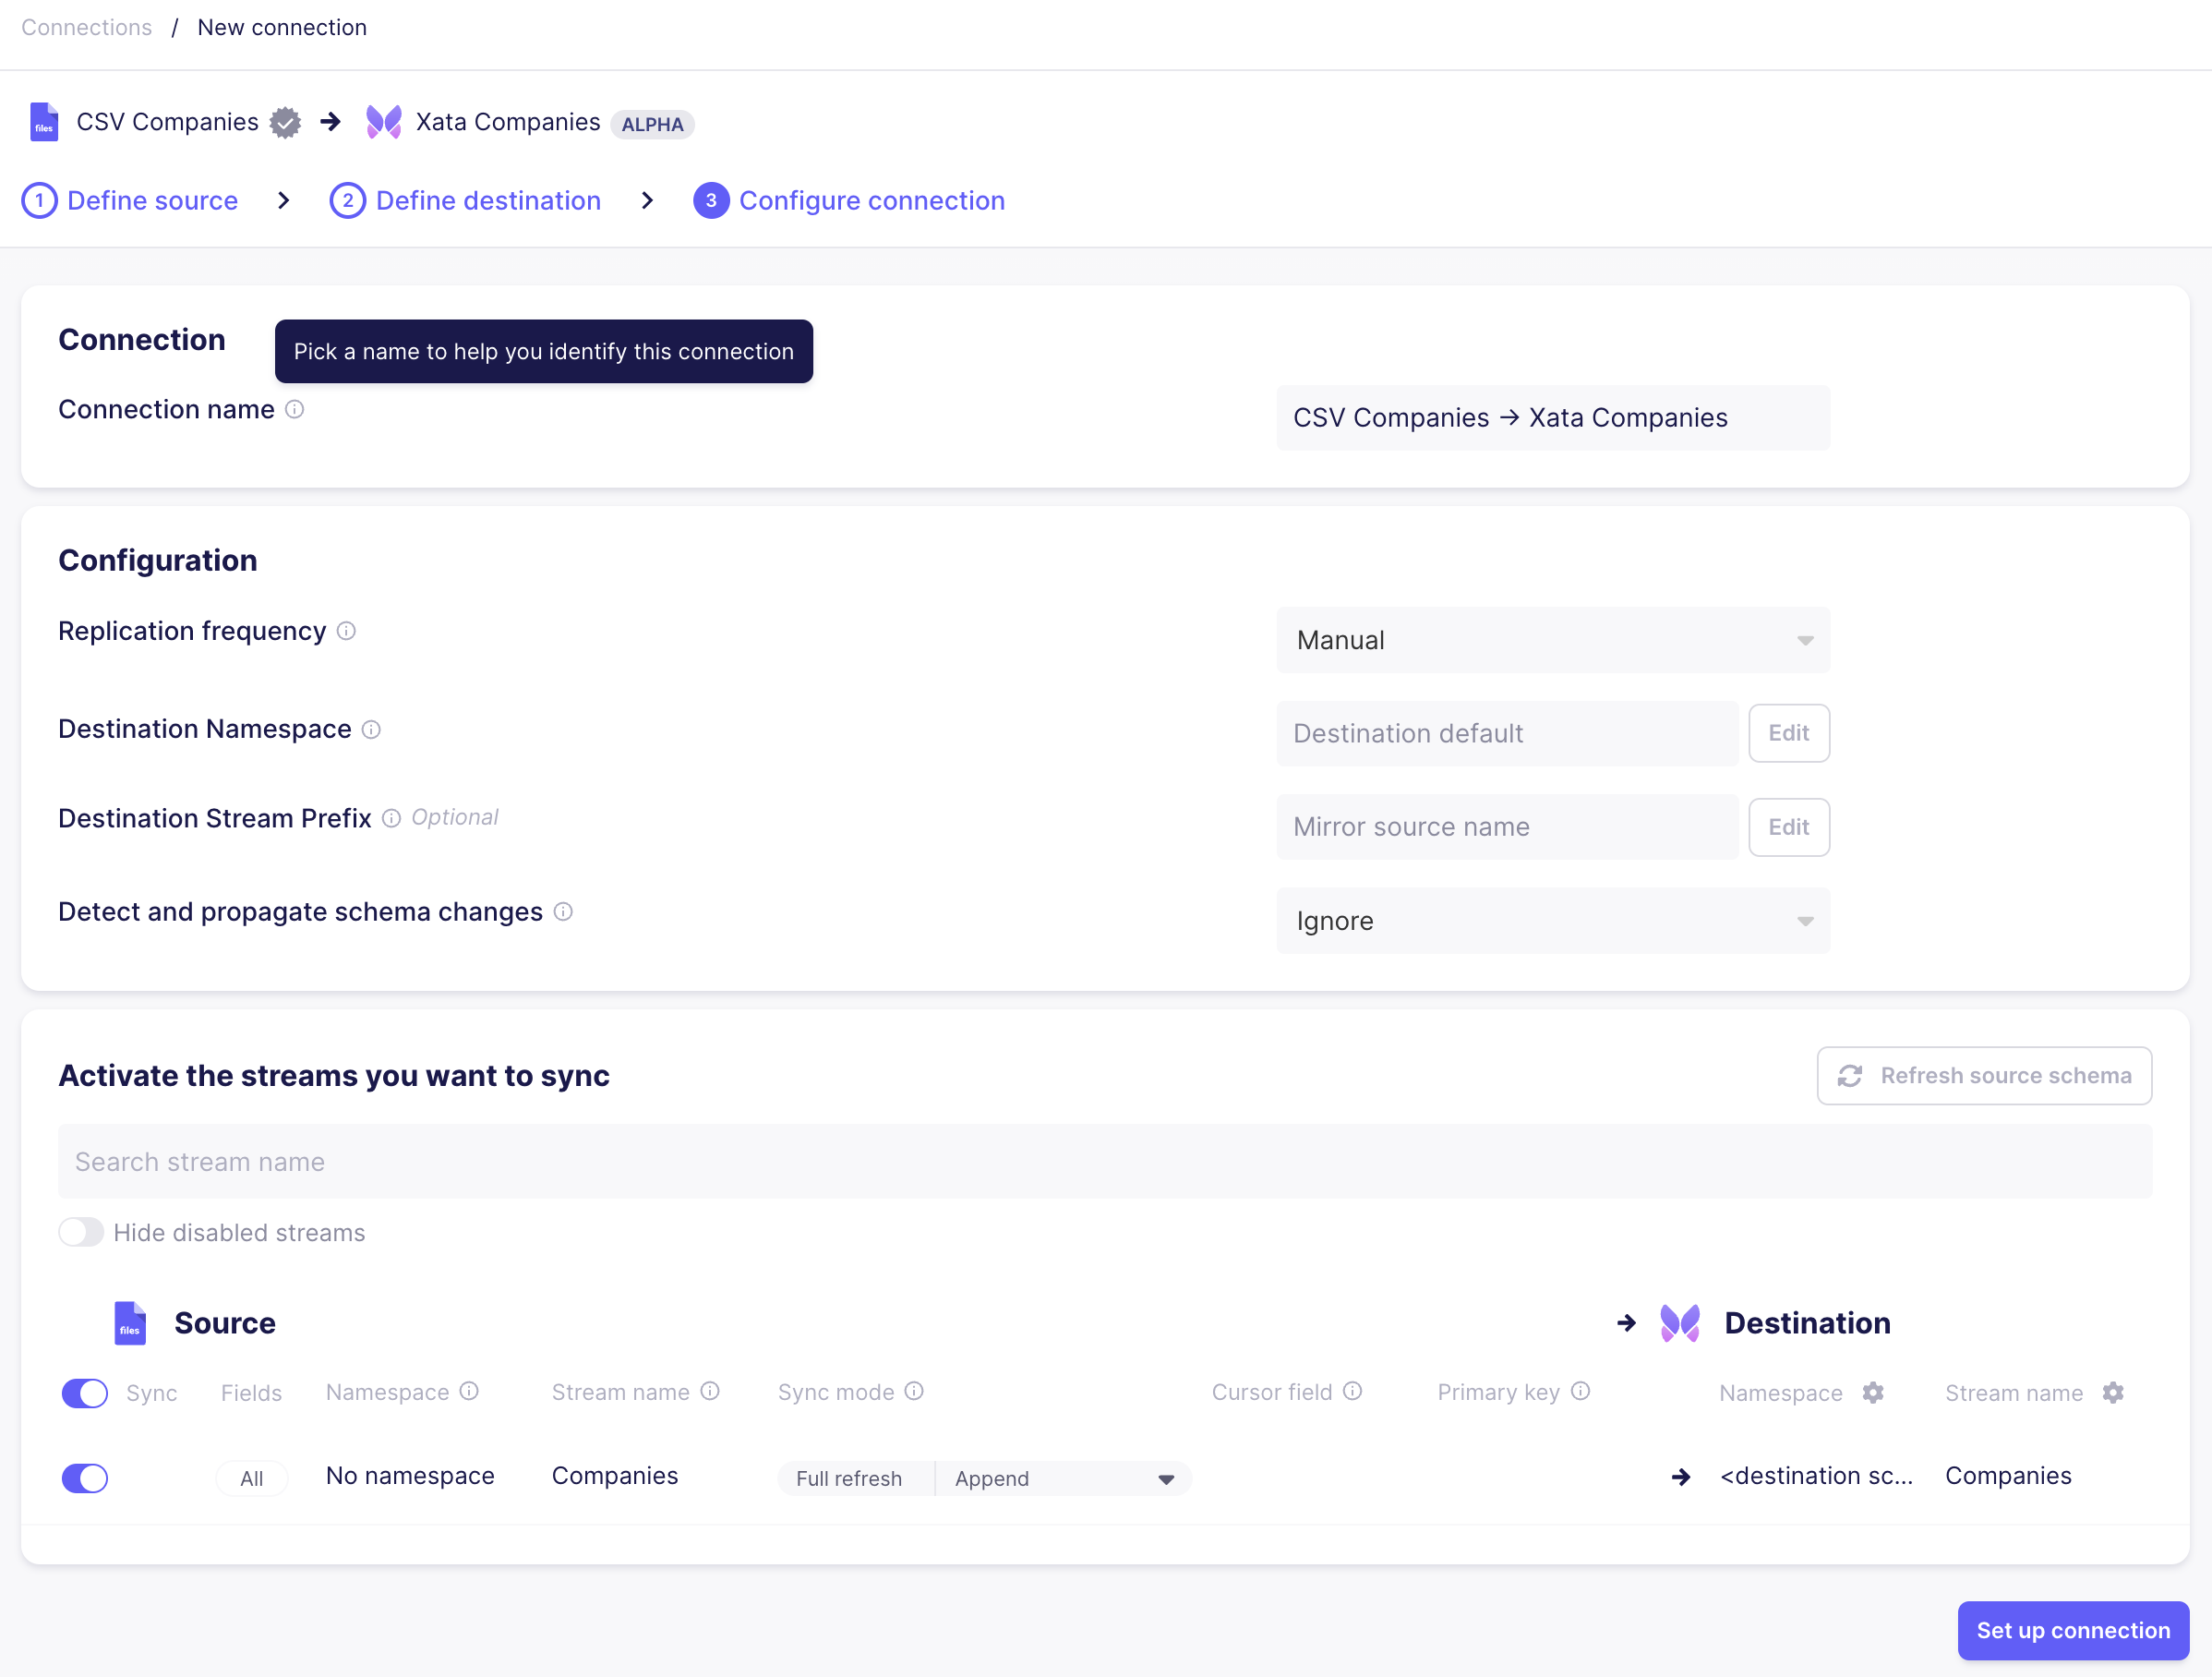
6. Create the connection
The source and destination are setup, now we can finalize the connection.
Set manual for the Replication frequency as we want to run the example only on need. For more complex scenarios please refer to Airbyte's documentation of sync schedules.
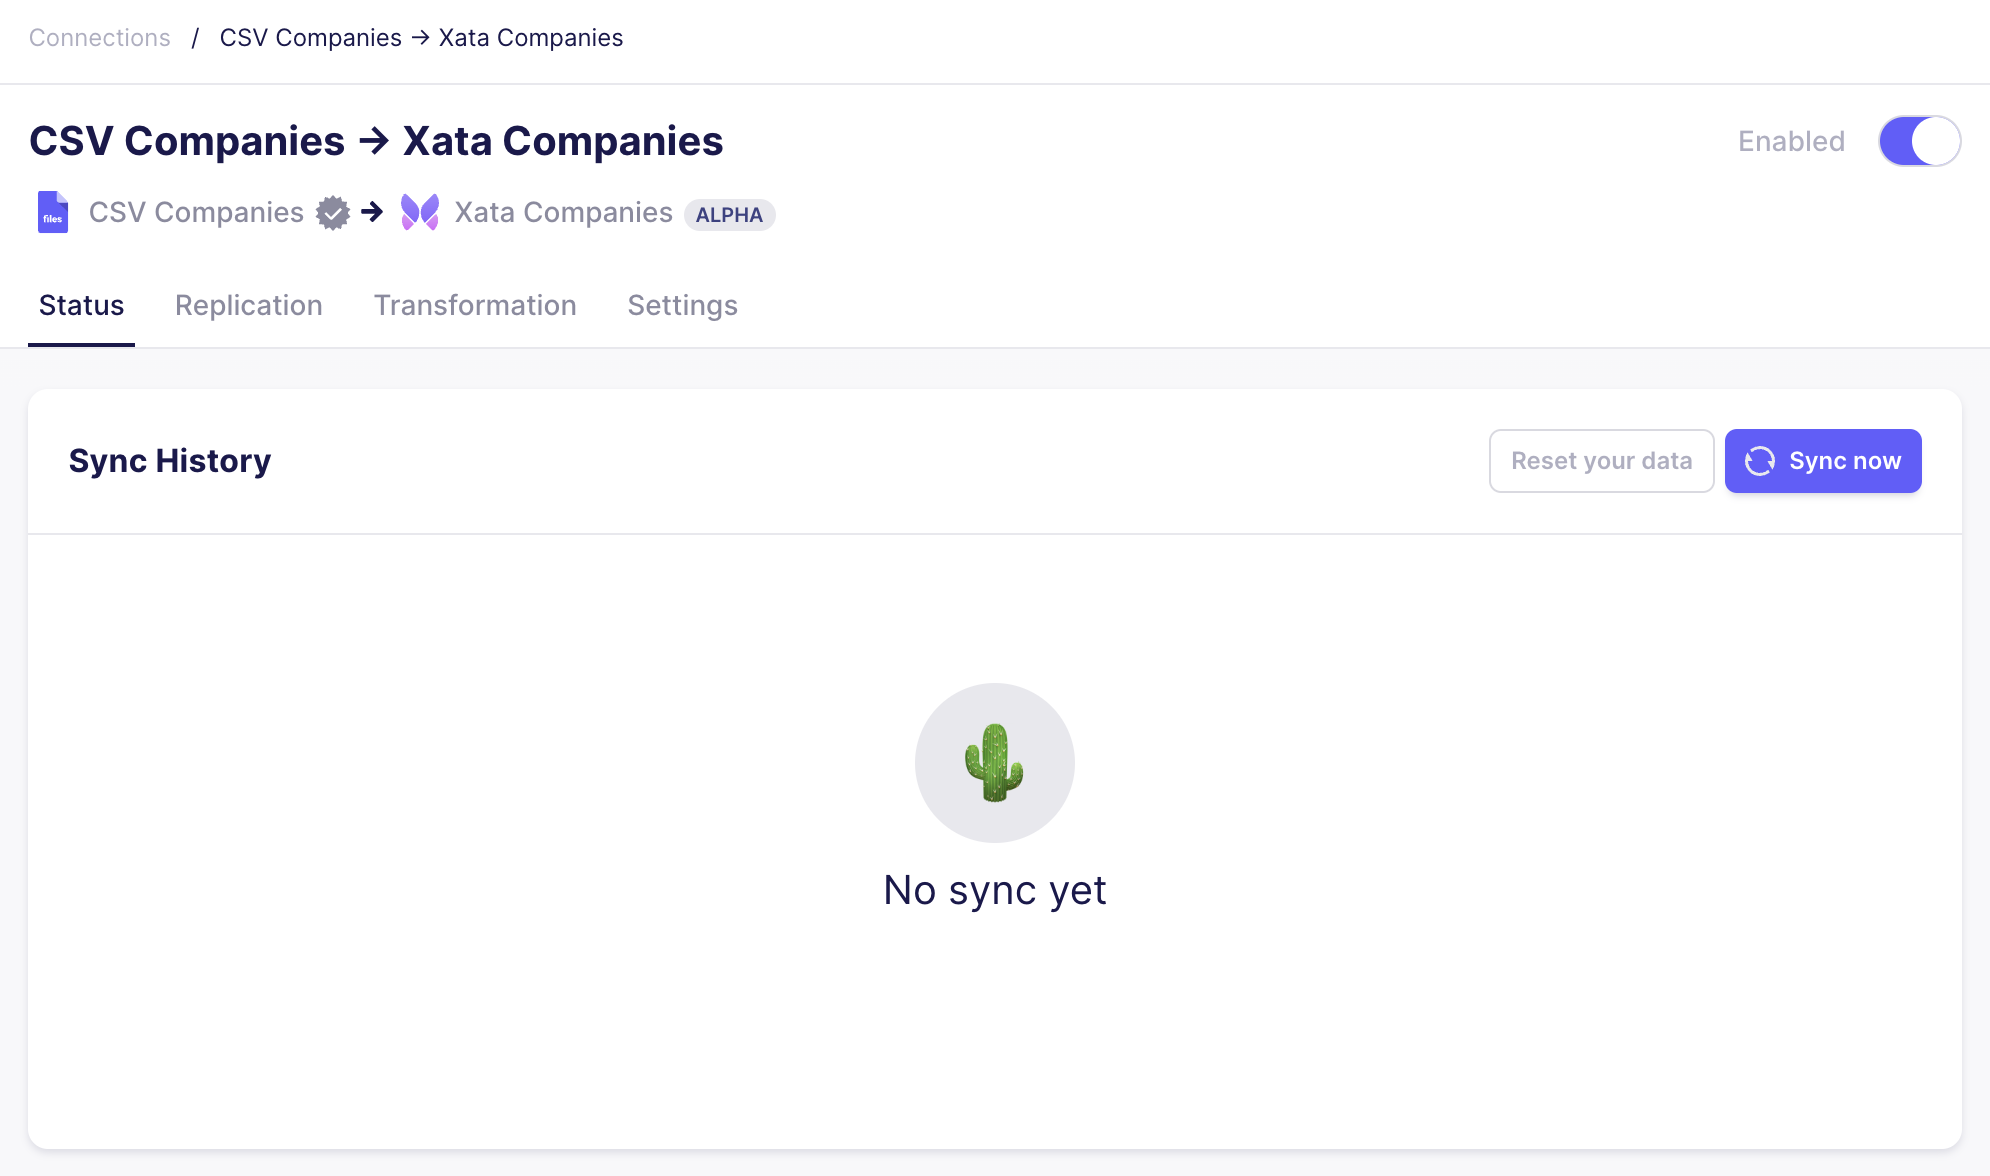
7. Synchronize
We need to manually trigger Airbyte to start the sync between source and destination.
After the sync was successful, you will see the following dialog indicating the 50 records from the CSV being committed. If you need to troubleshoot, please browse the logs from the runs as error messages from Xata are propagated.
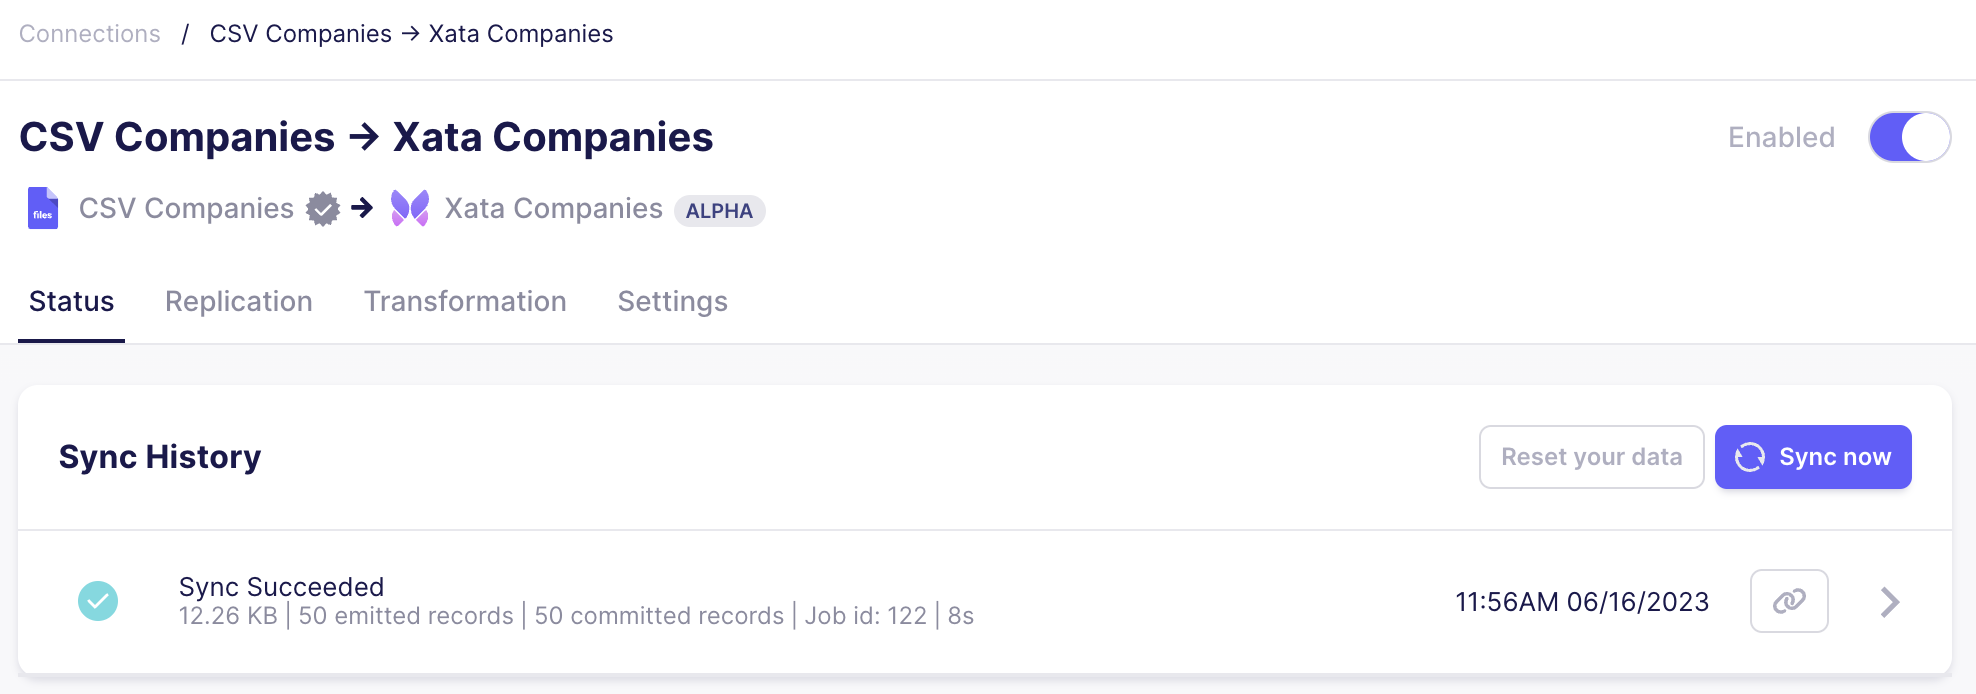
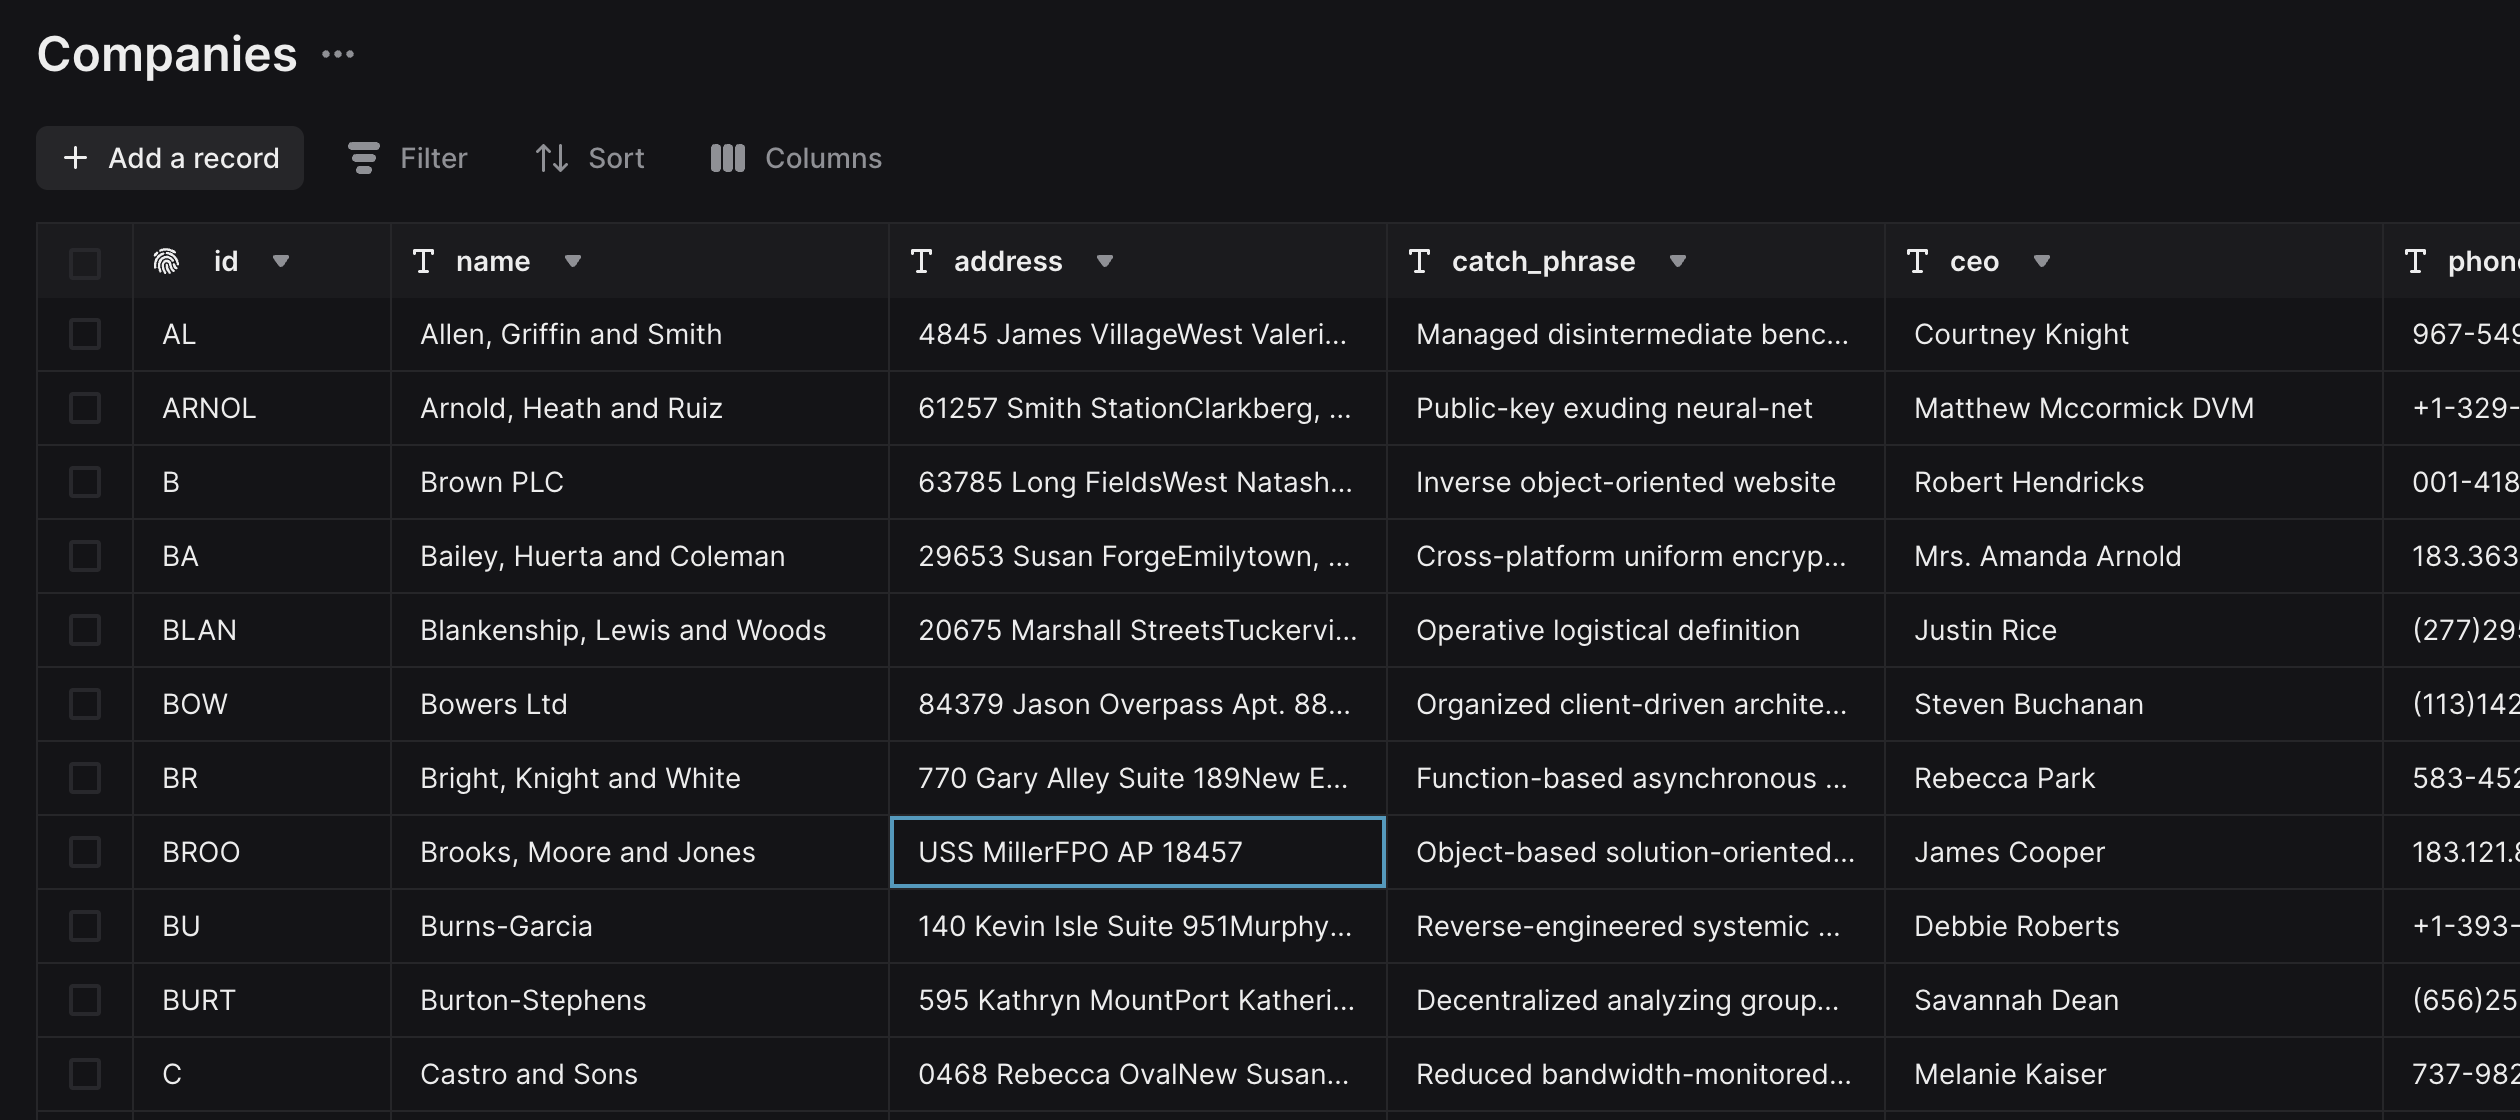
If the previous step succeeded, you should see the records in the Companies table.
Getting Involved
If you want to get involved, by contributing to the destination connector or create a source connector for Xata, please reach out to us on discord and we will assist you.