Want to find the answer quick?
Auth JS with Xata
Auth JS (also known as Next Auth) is a popular open-source library to provide login support to Javascript based applications. It works within the OAuth specification to provide easy to use social login for popular providers like Google, GitHub, Facebook, and others. Xata provides an official adapter that works with Next Auth to allow you to map these logins to a user table within a Xata database.
Set up a new project using the Auth JS example
For the benefit of this tutorial we're going to use the official Auth JS example and modify it to work with the Xata adapter. This should provide a basic understanding of how the two systems work together, which you can later modify to apply to your own application. First, create a new application using the template Next Auth provides.
git clone https://github.com/nextauthjs/next-auth-example.git
Install and configure the Xata adapter
Navigate to wherever you cloned the example and add the @next-auth/xata-adapter to your application.
cd ~/path/to/next-auth-example
npm install @next-auth/xata-adapter
If you haven't already, make sure you have the Xata CLI installed and have authenticated yourself.
# Install the xata cli
npm install -g @xata.io/cli

# Authenticate yourself with Xata
xata auth login
At this point we're ready to create the database we'll use to map against our social logins. To do this quickly, make a new schema.json file in the root of your application (though it can be anywhere you want) with the following content.
1 2 3 4 5 6 7 8 9 10 11 12 13 14 15 16 17 18 19 20 21 22 23 24 25 26 27 28 29 30 31 32 33 34 35 36 37 38 39 40 41 42 43 44 45 46 47 48 49 50 51 52 53 54 55 56 57 58 59 60 61 62 63 64 65 66 67 68 69 70 71 72 73 74 75 76 77 78 79 80 81 82 83 84 85 86 87 88 89 90 91 92 93 94 95 96 97 98 99 100 101 102 103 104 105 106 107 108 109 110 111 112 113 114 115 116 117 118 119 120 121 122 123 124 125 126 127 128 129 130 131 132 133 134 135 136 137 138 139 140 141 142 143 144 145 146 147 148 149 150 151 152{ "tables": [ { "name": "nextauth_users", "columns": [ { "name": "email", "type": "email" }, { "name": "emailVerified", "type": "datetime" }, { "name": "name", "type": "string" }, { "name": "image", "type": "string" } ] }, { "name": "nextauth_accounts", "columns": [ { "name": "user", "type": "link", "link": { "table": "nextauth_users" } }, { "name": "type", "type": "string" }, { "name": "provider", "type": "string" }, { "name": "providerAccountId", "type": "string" }, { "name": "refresh_token", "type": "string" }, { "name": "access_token", "type": "string" }, { "name": "expires_at", "type": "int" }, { "name": "token_type", "type": "string" }, { "name": "scope", "type": "string" }, { "name": "id_token", "type": "text" }, { "name": "session_state", "type": "string" } ] }, { "name": "nextauth_verificationTokens", "columns": [ { "name": "identifier", "type": "string" }, { "name": "token", "type": "string" }, { "name": "expires", "type": "datetime" } ] }, { "name": "nextauth_users_accounts", "columns": [ { "name": "user", "type": "link", "link": { "table": "nextauth_users" } }, { "name": "account", "type": "link", "link": { "table": "nextauth_accounts" } } ] }, { "name": "nextauth_users_sessions", "columns": [ { "name": "user", "type": "link", "link": { "table": "nextauth_users" } }, { "name": "session", "type": "link", "link": { "table": "nextauth_sessions" } } ] }, { "name": "nextauth_sessions", "columns": [ { "name": "sessionToken", "type": "string" }, { "name": "expires", "type": "datetime" }, { "name": "user", "type": "link", "link": { "table": "nextauth_users" } } ] } ] }
Next we'll use the Xata CLI to initialize a new project, creating a database with the above schema for a nextauth_users table. The CLI will walk you through a setup process where you choose a workspace and an appropriate database. Going with the defaults is OK here. We do recommend using a fresh database for this, as we'll augment it with tables that Auth JS needs.
xata init --schema=./path/to/your/schema.json
Going to the Xata web application you should see your new, empty database and table. At this point we now need to set up the API routes to talk to the Xata client. Since this is a Next.js application, we'll do that by adding a new file called /pages/api/auth/[...nextauth].ts with the following content.
1 2 3 4 5 6 7 8 9 10 11 12 13 14 15 16 17import NextAuth from 'next-auth' import GoogleProvider from 'next-auth/providers/google' import { XataAdapter } from '@next-auth/xata-adapter' // When you ran `xata init` it created a `src/xata.ts` that exports the client import { XataClient } from '../../../src/xata' const client = new XataClient() export default NextAuth({ adapter: XataAdapter(client), providers: [ // Auth JS provides many providers, but we'll only use Google for this demo GoogleProvider({ clientId: process.env.GOOGLE_ID, clientSecret: process.env.GOOGLE_SECRET, }), ], })
Set up your env keys
You may have noticed in the last code block that we'll need some environment keys for google to make this all work. The Auth JS example repository recommends copying their .env.local.example file to .env.local. When we ran xata init in this repository we also set up a .env file that contains our XATA_API_KEY. To make this easy, let's just continue to use the .env file. These are the only settings we need.
XATA_API_KEY=#your_xata_key_here

NEXTAUTH_URL=http://localhost:3000
# Generate a key with https://generate-secret.now.sh/32
NEXTAUTH_SECRET=#your_generated_key

GOOGLE_ID=#your_google_oath_client_id
GOOGLE_SECRET=#your_google_oath_secret
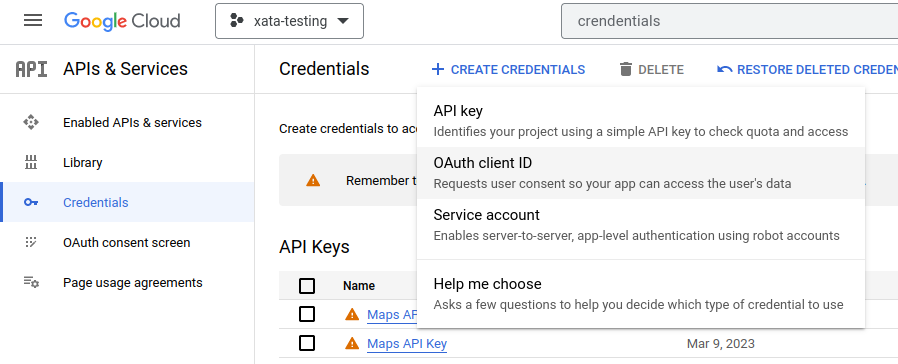
If this is your first time working with the Google OAuth client you may be wondering where to get these keys. Head over to https://console.developers.google.com/apis/credentials
- Create or select an existing project
- Click
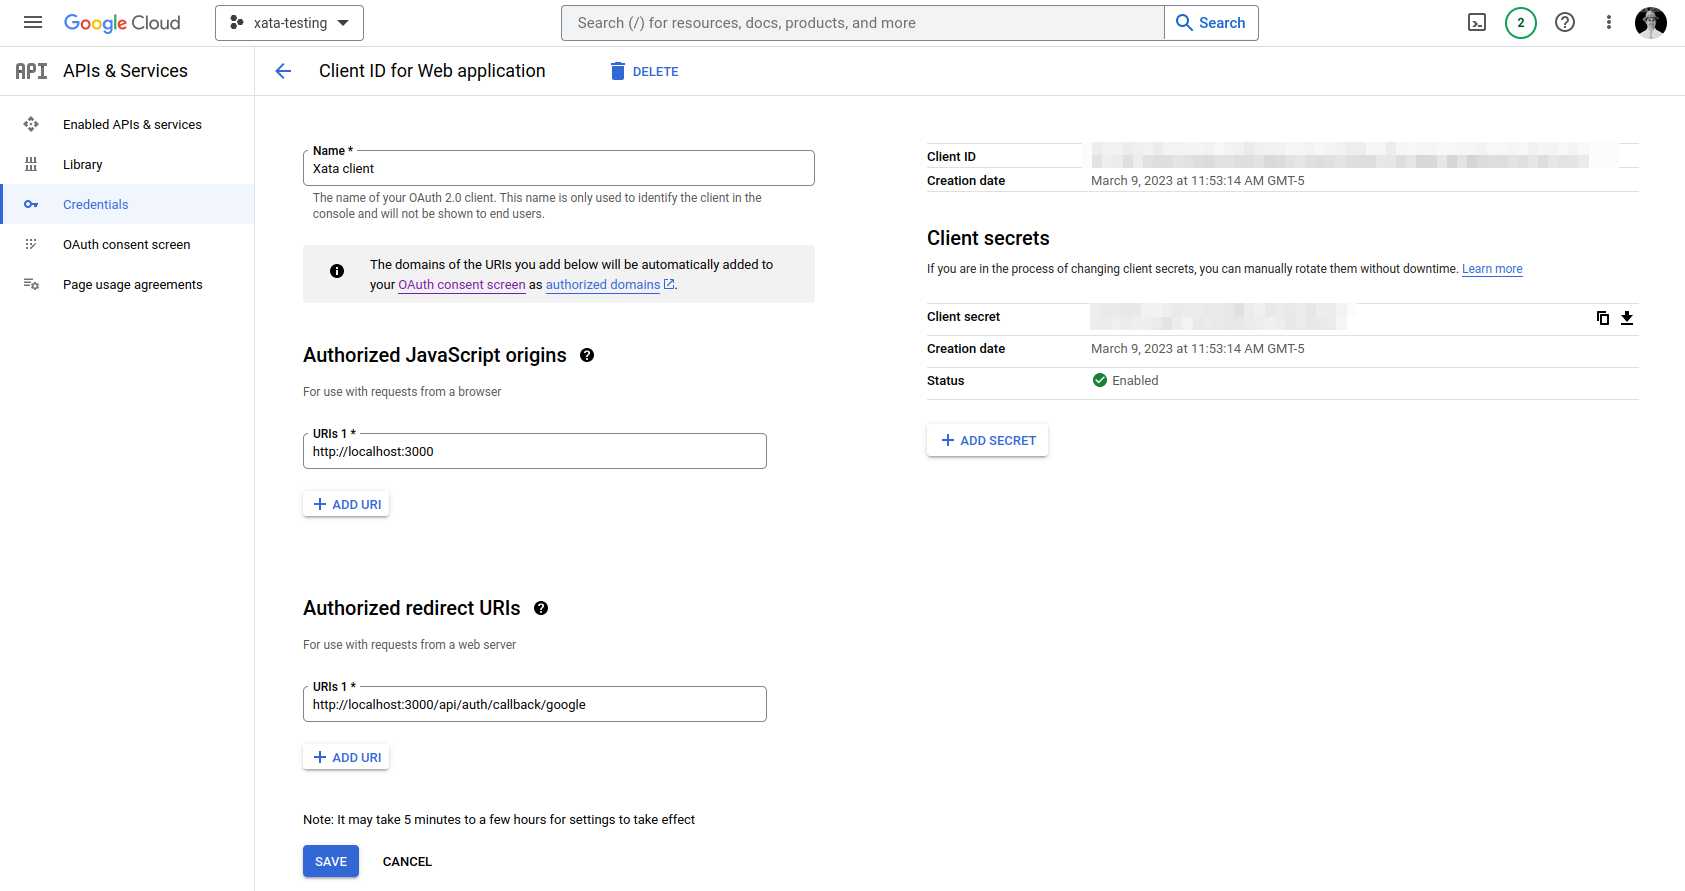
OAuth Client IDfrom the dropdown - Make sure your
Authorized redirect URIsincludehttp://localhost:3000/api/auth/callback/google(or whichever port you'll be on) - On completion, make sure to snag the
Client IDandClient Secret - Paste these values into the
.envfile we set up earlier
Test the application
At this point we have everything set up and can run the application.
1npm run dev
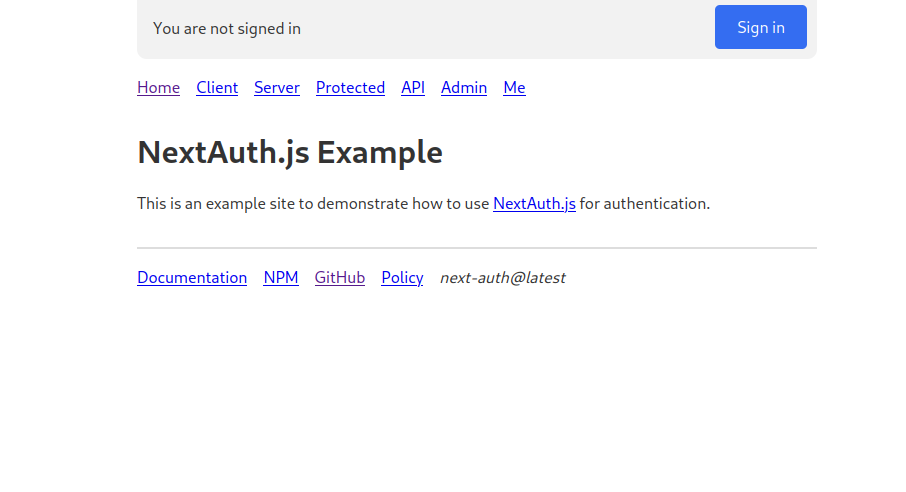
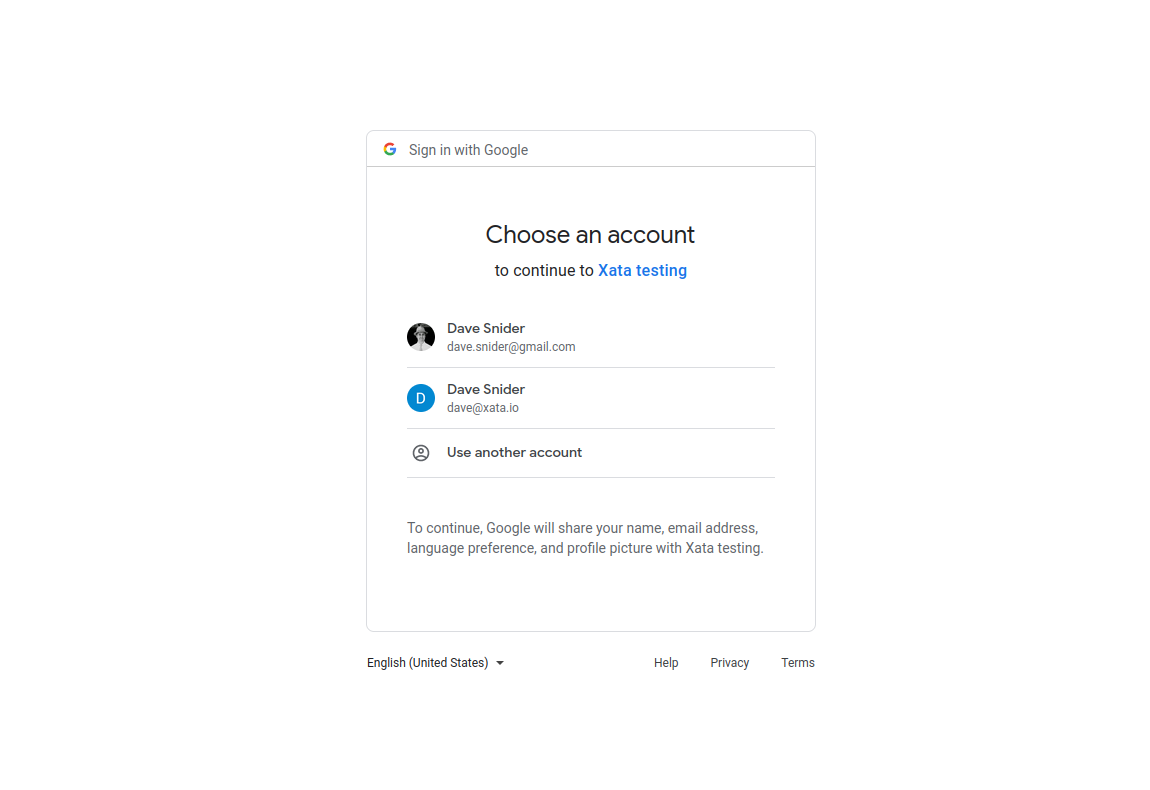
This should bring up the Auth JS example site. Clicking the sign in button should allow us to log in with our google account and return us back to the homepage.

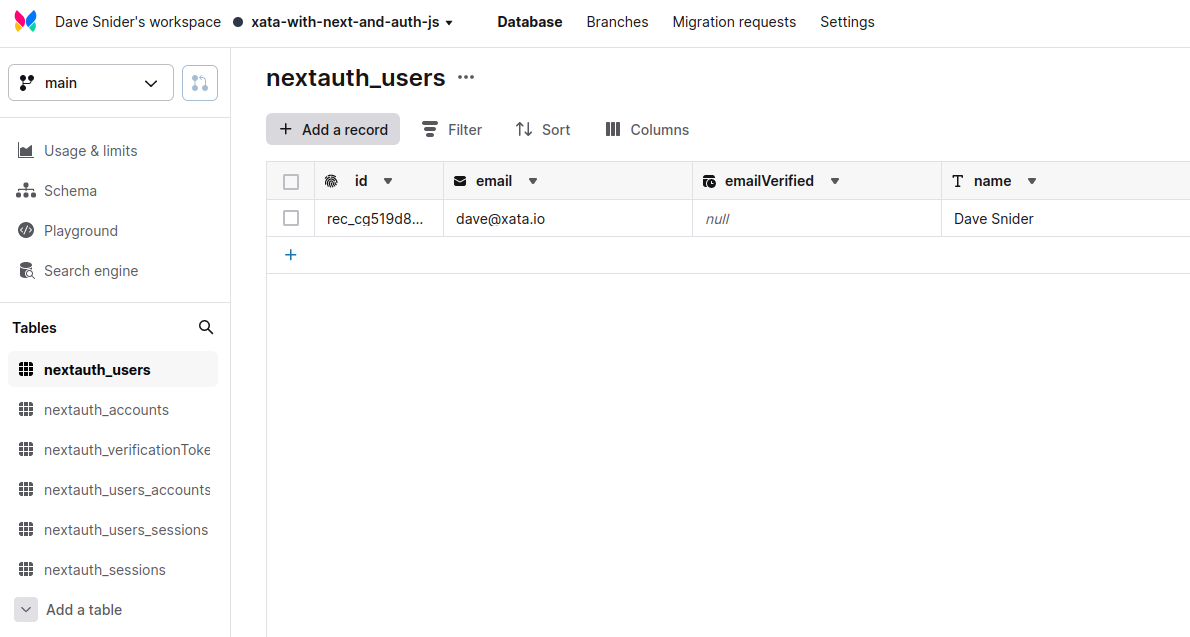
Verify the Xata database contains a user reference
The Xata web application should now show a new record in the nextauth_users table. At this point we can tie the user to other content within our database. Consult the Auth JS docs for more configuration options. You can set up social and email logins for just about anything.